Month: August 2026

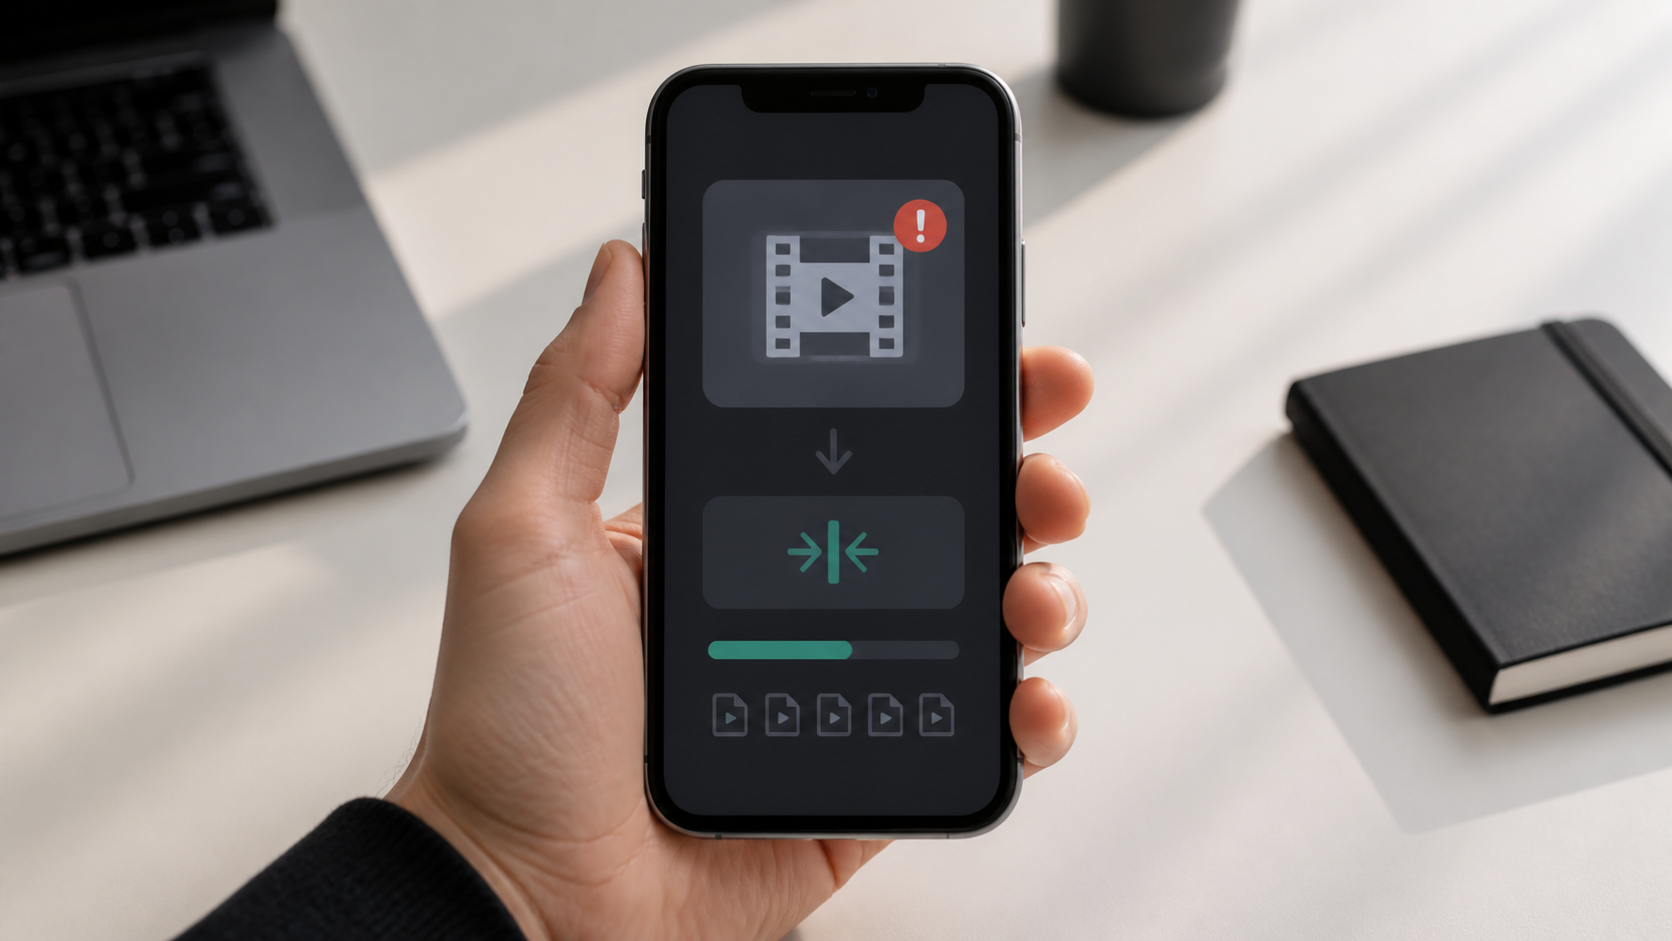
  • Reduce Video Size for WhatsApp Free: 6 Methods 2026

    Reduce Video Size for WhatsApp Free: 6 Methods 2026


    title: “Reduce Video Size for WhatsApp Free: 6 Methods 2026”
    slug: “how-to-reduce-video-size-for-whatsapp-free”
    domain: “onlinevideoconvert.net”
    primary_keyword: “how to reduce video size for WhatsApp free”
    meta_description: “Learn how to reduce video size for WhatsApp free using six tested methods, from phone trimming to HandBrake and Movavi, with exact codec settings.”
    date: 2026-08-13
    word_count: 2710
    status: draft
    schema:
    – Article
    – FAQPage
    – Author


    Affiliate disclosure: This article contains affiliate links. If you purchase through them, we may earn a commission at no extra cost to you. Recommendations are based on tool capability and fit for the task described.

    Reduce Video Size for WhatsApp Free: 6 Methods 2026

    WhatsApp enforces a 16MB limit on video messages. A 60-second 1080p clip recorded on a modern phone typically lands between 60MB and 150MB. That gap is why your video fails to send.

    This guide covers six methods to get your video under 16MB without paying for software. Each method includes specific settings, so you know what to adjust and why.


    WhatsApp Video Limits Explained (What You Are Actually Dealing With)

    Before picking a tool, know the three limits WhatsApp applies in 2026:

    Standard video messages: 16MB per file. This is the limit for videos sent in the video player format. Roughly 90 seconds of 720p footage at a reasonable bitrate, or 30-45 seconds of unedited 1080p.

    Status clips: 16MB per clip, with a hard 30-second duration cap regardless of file size. Both limits apply simultaneously.

    Document attachment workaround: When you send a video as a document (using the attachment icon, then “Document” instead of “Gallery”), WhatsApp allows files up to 2GB. The recipient downloads and plays it outside the built-in player. Quality stays intact. This is a legitimate workaround for longer videos.

    According to the WhatsApp Help Center, the 16MB media limit applies globally across iOS and Android. The document workaround is a documented feature, not a loophole.

    Target specs for a video that passes the 16MB gate:

    Setting Recommended value
    Format MP4
    Codec H.264
    Resolution 720p (1280×720)
    Video bitrate 1,000-1,500 kbps
    Audio codec AAC
    Audio bitrate 128 kbps
    Frame rate 30 fps

    At 1,500 kbps total bitrate, a 60-second video lands around 11-12MB. At 1,000 kbps, closer to 7-8MB. Both clear the 16MB limit with margin.


    Method 1: WhatsApp’s Built-In Compression (Fastest, Zero Tools)

    WhatsApp compresses video automatically when you send from the Gallery picker. You do not need any external tool if your video is close to the limit.

    Smartphone showing WhatsApp chat with video attachment
    WhatsApp applies a 16MB size limit on video attachments sent via the Gallery picker.

    How it works:

    1. Open a chat in WhatsApp.
    2. Tap the attachment icon (paperclip or “+” depending on your OS).
    3. Choose “Gallery” (not “Document”).
    4. Select your video.
    5. WhatsApp shows a preview with a quality selector at the top right on Android (HD toggle). Leave HD off for smaller file size.
    6. Tap Send.

    WhatsApp re-encodes the video before sending. It targets a lower bitrate, typically 600-900 kbps, which significantly reduces file size. The trade-off is visible quality loss at higher resolution source material.

    When this works: Videos already close to 16MB, casual clips where quality is secondary, anything under 2-3 minutes at 720p.

    When this fails: Long videos (5+ minutes), high-resolution source files (4K), videos where quality matters enough to preserve.

    The built-in method gives you no control over the output settings. If the result looks unacceptable, move to Method 2 or 3.


    Method 2: Clideo (Free Online Tool, No Download)

    Clideo’s video compressor runs in a browser. No installation, no account required for basic compression.

    Steps:

    1. Go to clideo.com/compress-video.
    2. Click “Choose file” and upload your video (Clideo free tier limits uploads to 500MB).
    3. Clideo auto-compresses and shows you the before/after file size.
    4. Download the compressed MP4.

    Clideo targets aggressive size reduction by default. For a WhatsApp use case you typically want to aim for output below 14MB to give buffer. Clideo does not expose manual bitrate controls on the free tier.

    Pros: Runs on any device including iPhone and Android via mobile browser. No signup.

    Cons: No bitrate control. Clideo adds a watermark to video output on the free plan. You need the paid plan to remove it ($9/month or $72/year as of mid-2026).

    If the watermark is a problem, HandBrake (Method 4) or Movavi (Method 5) are better choices.


    Method 3: Send as Document (The Clean Workaround)

    If video quality cannot be compromised and the file is under 2GB, skip compression entirely.

    Laptop screen showing video compression software interface
    Desktop video compression tools like Movavi offer more precise bitrate controls than online alternatives.

    Steps on Android:

    1. Open the chat.
    2. Tap the attachment icon.
    3. Tap “Document.”
    4. Navigate to your video file and select it.
    5. Send.

    Steps on iPhone:

    1. Tap the “+” icon next to the text field.
    2. Select “Document.”
    3. Browse Files app to find your video.
    4. Confirm and send.

    The recipient receives the full-quality file. They tap to download, then play it in their phone’s default video player, not inside WhatsApp’s player. The experience is slightly less polished (no autoplay thumbnail) but quality is unchanged.

    This method is ideal for sharing screen recordings, client deliverables, event videos, or anything where compression artifacts would matter.


    Method 4: HandBrake (Free Desktop Compression, Full Control)

    HandBrake is an open-source video encoder available for Windows, Mac, and Linux. It gives you exact control over every output parameter. The trade-off is a steeper learning curve than online tools.

    Settings for WhatsApp under 16MB:

    1. Open HandBrake. Drag your video onto the interface.
    2. In the “Presets” panel on the right, select “Fast 720p30.” This is the starting point.
    3. Under the “Video” tab:
    4. Video codec: H.264 (x264)
    5. Framerate: 30 fps, Constant
    6. Quality: Switch from RF (constant quality) to “Average Bitrate.” Enter 1200 kbps.
    7. Check “2-Pass Encoding” for more accurate file size targeting.
    8. Under “Audio” tab: set codec to AAC, bitrate to 128 kbps.
    9. Click “Browse” at the bottom to set output path and filename (use .mp4 extension).
    10. Click “Start Encode.”

    After encoding, check the file size. If it is still over 16MB, drop the video bitrate to 900 kbps and re-encode. Use this formula as a rough guide: (target size in MB x 8,000 kbps) / duration in seconds = max bitrate.

    For a 16MB target on a 60-second video: (16 x 8,000) / 60 = approximately 2,133 kbps. Set video to 2,000 kbps and audio to 128 kbps. That gives you the 2-minute version at the limit.

    HandBrake is the most precise free tool for file size targeting. The 2-pass encoding mode is especially useful when you have a hard file size ceiling.


    Method 5: Movavi Video Converter (Best Pick for Consistent Results)

    For users who compress videos regularly, Movavi Video Converter handles WhatsApp compression with more precision and fewer steps than online tools or HandBrake’s manual workflow.

    Movavi is available for Windows and Mac. It is not free permanently, but the trial version allows you to test compression without a watermark for a limited number of exports, and the paid version is $49.95 for a one-year subscription as of 2026.

    Why Movavi earns the top recommendation here:

    1. Preset library: Movavi includes device and platform presets. The WhatsApp preset automatically sets H.264, 720p, 1,200 kbps video bitrate, and AAC 128 kbps audio. You do not need to look up the specs.
    2. File size estimator: Before you export, Movavi shows the estimated output file size. You adjust the quality slider until the estimate clears 16MB. This removes the guess-and-check loop that HandBrake requires.
    3. Batch processing: If you have multiple videos to compress (event footage, client clips), Movavi processes them in a queue. Online tools and HandBrake require re-uploading or re-setting each file.
    4. Format flexibility: Movavi converts between 180+ formats. If you are also converting MOV files from an iPhone or MTS files from a camcorder, one tool handles it.

    Movavi step-by-step for WhatsApp:

    1. Download and install Movavi Video Converter from movavi.com.
    2. Launch the app and drag your video into the interface.
    3. Click the output format selector at the bottom. Search for “WhatsApp” or select MP4, then set resolution to 720p.
    4. Check the estimated file size in the output panel. If above 14MB, click the quality slider and reduce slightly.
    5. Set output folder and click “Convert.”

    The output is a WhatsApp-ready MP4 that you can send immediately.

    Honest limitations: The trial has export limits. If you only need to compress one video, HandBrake (free, no limits) is fully capable. Movavi is the right call when you process video regularly and want a faster workflow.

    Alternatives worth knowing:

    • Any.Video.Converter Free (any-video-converter.com): Free desktop tool with a lighter feature set than Movavi. No file size estimator. Handles MP4 output with manual bitrate settings. Good option if you want desktop software without a subscription.
    • Wondershare UniConverter (videoconverter.wondershare.com): More feature-heavy than Movavi (AI upscaling, screen recorder included). Better for users who also edit or manage larger video libraries. Priced higher.

    For WhatsApp compression specifically, Movavi’s preset system and file size estimator give it the edge over both alternatives.


    Method 6: Trim the Video First, Then Compress

    The simplest size reduction is duration reduction. Removing 30 seconds from a 2-minute video cuts file size by roughly 25% before any bitrate adjustment.

    On iPhone:

    1. Open Photos app, tap your video.
    2. Tap “Edit” at the top right.
    3. Drag the yellow handles at the bottom of the timeline to trim start and end.
    4. Tap “Done” and save as new clip.

    On Android (Samsung/Pixel stock apps):

    1. Open Gallery or Photos.
    2. Select the video, tap the pencil/edit icon.
    3. Use the timeline scrubber to set new start and end points.
    4. Save as copy.

    On desktop (Photos app on Mac):

    1. Double-click the video in Photos.
    2. Click “Edit” then “Trim.”
    3. Drag the handles, click “Done.”

    After trimming, check the file size. If it is now under 16MB, no further compression is needed. If it is still too large, apply Method 4 or 5 at a lower bitrate.

    Trimming first is the cleanest approach: shorter video at original quality beats full-length video at heavily compressed quality.


    Comparison Table: Which Method to Use

    Method Cost Speed Quality control Best for
    WhatsApp built-in Free Instant None Quick casual clips
    Clideo online Free (watermark) / Paid 1-2 min Low One-off, no install
    Document workaround Free Instant Full quality Files up to 2GB
    HandBrake Free 5-10 min Full control Power users, precise targets
    Movavi Paid ($49.95/yr) 2-5 min High + estimator Regular users, batch
    Trim first Free 1-2 min Source quality Any video with unused footage

    How to Reduce Video Size for Other Platforms

    If you are compressing videos for platforms beyond WhatsApp, the settings differ by platform. This site has dedicated guides:

    Person using smartphone to record and share video
    Trim your video before compressing — shorter clips compress more efficiently and preserve quality.

    Each platform has different codec preferences, resolution caps, and bitrate sweet spots. The WhatsApp settings in this guide do not transfer directly to Discord or TikTok.


    FAQ

    What is the maximum video size for WhatsApp in 2026?

    WhatsApp allows video messages up to 16MB. Status clips are also capped at 16MB with an additional 30-second duration limit. Videos sent as document attachments can be up to 2GB, but recipients must download and play them outside the built-in video player.

    How do I compress a video for WhatsApp without losing quality?

    No lossy compression is truly lossless. The closest option is sending the video as a document (up to 2GB), which bypasses compression entirely. If you must compress to stay under 16MB, use H.264 at 720p and 1,200-1,500 kbps bitrate to get the smallest file size at acceptable visual quality.

    Can I reduce video size on my phone for free?

    Yes. Trim the video in your phone’s native Photos or Gallery app to remove unused footage. WhatsApp also re-encodes automatically when you send from the Gallery picker. For more control, use HandBrake on desktop after transferring the file, or open Clideo in your mobile browser.

    Does HandBrake work for WhatsApp compression?

    Yes. HandBrake is free and gives you exact bitrate control. Use the “Average Bitrate” mode (not constant quality RF) and set video to 1,000-1,500 kbps with AAC audio at 128 kbps. Enable 2-pass encoding for accurate file size output. The result will be a WhatsApp-compatible MP4.

    Why does WhatsApp reduce my video quality so much?

    WhatsApp’s automatic compression targets a low bitrate to reduce upload and data usage across all network conditions. It does not let you control the output quality. If the result is unacceptable, compress the video yourself using HandBrake or Movavi before sending, which gives you control over how much quality is traded for file size.


    Verdict

    For a one-off video, trim it first in your phone’s Photos app, then send via WhatsApp’s Gallery picker. For a video where quality matters and file size is the blocker, send as a document.

    For regular compression needs, desktop tools beat online options because they do not impose watermarks or upload limits. HandBrake is the free choice with full control. Movavi Video Converter is the faster choice if you want a file size estimator and platform presets built in. The platform preset system alone saves the multiple encode-check-re-encode cycles that HandBrake requires.

    Any.Video.Converter and Wondershare UniConverter are credible alternatives if Movavi’s pricing or feature set does not fit your workflow.
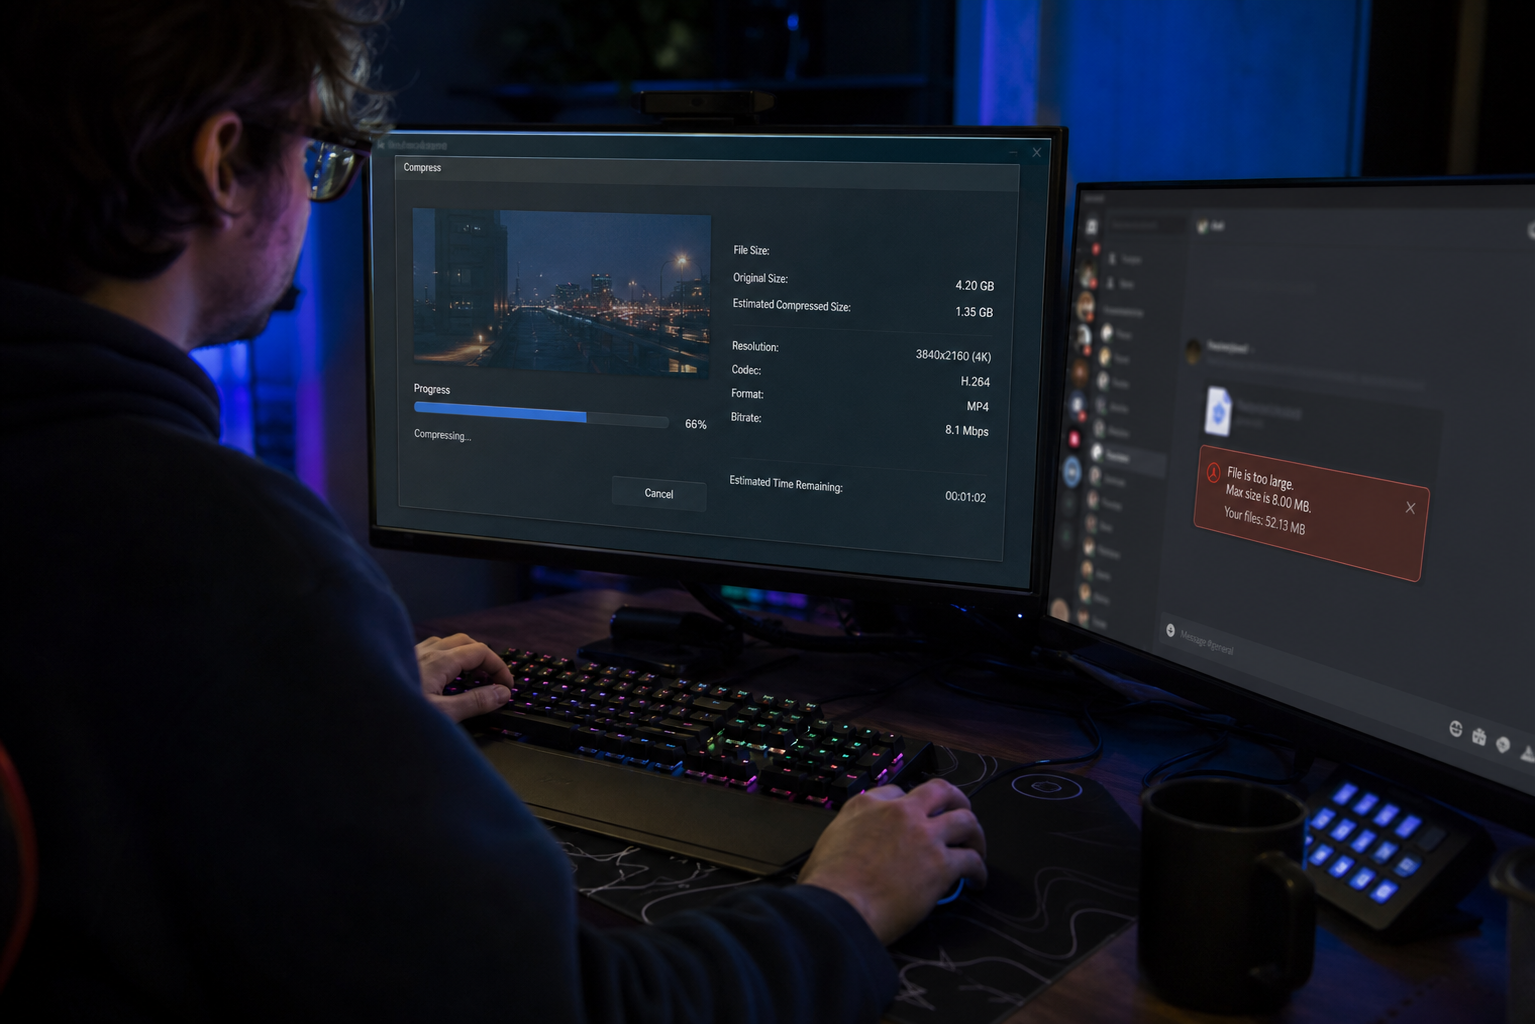

  • Fix Discord 8MB Video Limit: Best Free Methods That Work (2026)

    Fix Discord 8MB Video Limit: Best Free Methods That Work (2026)


    title: “Fix Discord 8MB Video Limit: Best Free Methods That Work (2026)”
    slug: “fix-discord-8mb-video-limit-best-free-methods-2026”
    domain: “onlinevideoconvert.net”
    primary_keyword: “how to compress video under 8MB Discord”
    meta_description: “Learn how to compress video under 8MB for Discord using free online tools, HandBrake, FFmpeg, or Wondershare UniConverter. Exact bitrate formulas and step-by-step settings for 2026.”
    date: 2026-08-11
    word_count: 2710
    status: draft
    schema:
    – Article
    – FAQPage
    – Author


    Affiliate disclosure: This article contains affiliate links. If you purchase through them, we may earn a commission at no extra cost to you. Recommendations are based on technical fit, not commission rates.

    Fix Discord 8MB Video Limit: Best Free Methods That Work (2026)

    Discord’s free file upload limit is currently 10 MB per file as of 2026. The 8 MB figure you see in older guides and in the widely-used 8mb.video tool is a safe compression target that keeps your file under both the historical and current thresholds. This guide uses 8 MB as the working target throughout.

    The short answer: Compress to H.264 MP4, drop resolution to 720p or 480p, lower the bitrate, and keep the clip under 90 seconds. You can do this free in a browser or with desktop software. The sections below cover both paths with specific settings. For general video format conversion tips outside of Discord, our video converter guide has you covered.


    What Is Discord’s Actual Video Size Limit in 2026?

    Discord file size upload limits by account tier in 2026

    Discord’s upload limits changed in 2024 and have stayed at these levels into 2026:

    Account tier File size limit Monthly cost
    Free 10 MB $0
    Nitro Basic 50 MB $2.99/month
    Nitro 500 MB $9.99/month

    Source: Discord Nitro pricing page.

    Free users lost the old 25 MB limit when Discord reduced it in 2024 to manage storage costs. Today the hard cap is 10 MB, which means any video you share needs to sit below that. Targeting 8 MB gives you a 2 MB buffer for file overhead and encoding variance.

    Why 8 MB is the right compression target

    A 10-second clip at 1080p H.264 can run 40-80 MB depending on source bitrate. A 60-second gaming highlight at 1080p might hit 200-400 MB. Getting either under 10 MB means significant compression. Targeting 8 MB rather than exactly 10 MB:

    • Avoids upload failures from borderline file sizes
    • Accounts for encoding output variance (compressors rarely hit exact targets)
    • Works on servers with slightly stricter Nitro-boosted limits

    Method 1: Free Online Compressors (No Software to Install)

    Online tools are the fastest path for occasional compression. Most need no account and work on any OS.

    How online Discord compressors work

    You upload the video, set a target file size (8 MB), and the tool calculates a bitrate that meets the target. Most re-encode using H.264 at a reduced bitrate and resolution. Quality depends on how good the encoder is and how aggressively it compresses.

    Recommended free online options:

    • Clideo (clideo.com/compress-video-for-discord): Browser-based, no account required for basic compression, exports MP4.
    • VEED.io (veed.io): Clean interface, lets you set target quality or file size. Free tier adds a watermark on some exports.
    • Kapwing (kapwing.com): Handles MP4, WebM, WMV, MOV. Free tier works for short clips.

    Limitations of online tools

    • Upload speed depends on your internet connection. A 500 MB source file takes time.
    • Free tiers often cap file size (typically 500 MB to 1 GB input).
    • Quality control is limited. The tool picks settings; you cannot override bitrate manually.
    • Privacy: your video goes to a third-party server.

    For quick, low-stakes clips, these tools work well. For gaming highlights, streams, or anything you want to preserve at decent quality, a desktop tool gives better control.


    Method 2: Desktop Compression with Specific Settings

    HandBrake settings for compressing video under 8MB for Discord

    Desktop tools let you set exact bitrates, codecs, and resolutions. This is the most reliable way to hit 8 MB with the best possible quality.

    The bitrate math for 8 MB

    File size (MB) = (video bitrate kbps + audio bitrate kbps) x duration (seconds) / 8000

    For an 8 MB target at 60 seconds total duration:

    8,000 KB x 8 / 60 seconds = ~1,067 kbps total

    Subtract 128 kbps for audio and you have roughly 939 kbps for video. For a 30-second clip, you get ~2,000 kbps video bitrate, which produces noticeably better results.

    Shorter clips = more bitrate = better quality at the same file size. If you have the option, trim the clip before compressing.

    Option A: HandBrake (free, open source)

    HandBrake is the most widely used free video encoder. Settings for Discord under 8 MB:

    1. Open HandBrake, drag in your video.
    2. Preset: select “Fast 720p30” or “Fast 480p30” depending on acceptable quality.
    3. Video tab: Encoder = H.264 (x264). Set “Avg Bitrate” mode. Enter your calculated bitrate (see math above). Check “2-Pass Encoding” for better quality at low bitrates.
    4. Audio tab: AAC codec, 128 kbps.
    5. Output: .mp4 container.
    6. Click Start.

    HandBrake is free with no watermark. It does not have a direct “target file size in MB” input. You calculate the bitrate yourself or use the two-pass approach and check the output size, then re-encode if needed.

    Limitation: Two-pass encoding takes twice as long. For long clips at very low bitrates (below 500 kbps video), quality degrades significantly regardless of encoder.

    Option B: FFmpeg (free, command-line)

    FFmpeg gives the most precise control. For a 30-second clip targeting 8 MB:

    ffmpeg -i input.mp4 -b:v 2000k -b:a 128k -vf scale=1280:720 -c:v libx264 -c:a aac output.mp4
    

    Adjust -b:v using the bitrate formula above. FFmpeg is free, open source, and has no watermark. It requires comfort with the command line.


    Method 3: Wondershare UniConverter (Best Pick for Regular Use)

    Wondershare UniConverter target file size compression interface for Discord

    For users who compress Discord videos more than occasionally, a dedicated desktop compressor saves time and produces better results than online tools or manual HandBrake settings.

    Wondershare UniConverter is the strongest option in this category. Here is why it earns the top spot over free-only tools:

    What it does well:

    • Target file size input: enter “8 MB” directly and the tool calculates the right bitrate automatically. No math required.
    • Batch compression: compress multiple clips at once. Useful if you are exporting an entire gaming session.
    • Format support: handles MP4, MOV, MKV, AVI, WebM and more as input. Output defaults to MP4, which is the correct format for Discord.
    • Quality preview before export: you can see approximately how the compressed output looks before committing.
    • No watermark on exports (paid version).

    Honest limitations:

    • Wondershare UniConverter is not free. It offers a free trial with limited exports. The paid plan costs around $29.99/year for a single license. If you compress videos rarely, HandBrake or an online tool covers the use case without cost.
    • The interface includes upsell prompts for other Wondershare products. They do not interfere with the compression workflow.

    When UniConverter is worth it:

    If you regularly share gaming clips, screen recordings, or short videos on Discord and you want consistent results without recalculating bitrates each time, UniConverter’s target-size compression workflow pays for itself in time saved. It is also useful if you share videos across multiple platforms (Discord, WhatsApp, email) because it handles different size targets per platform.

    How to compress for Discord in UniConverter:

    1. Launch UniConverter, go to the Compress Video section.
    2. Add your video file(s).
    3. Set the target file size to 8 MB.
    4. Select MP4 as the output format.
    5. Choose 720p or 480p resolution depending on acceptable quality.
    6. Click Compress.

    The output will be a Discord-ready MP4 under 8 MB.

    Try Wondershare UniConverter


    Method 4: Reduce File Size Before Compressing

    Compression alone is not always the right first step. Before you run any tool, consider these steps that reduce file size without touching codec settings:

    Trim the clip

    Every second removed reduces the file size proportionally. A 90-second clip that contains 60 seconds of relevant content should be trimmed to 60 seconds before compressing. This raises the available bitrate per second, which means better quality at the same target size.

    Tools for trimming:

    • Windows: Photos app (built-in, no install)
    • macOS: QuickTime Player > Edit > Trim (built-in)
    • Online: Clideo, Kapwing, VEED (all free for basic trimming)

    Lower the resolution

    1080p is usually unnecessary for a Discord chat clip. 720p (1280×720) at an appropriate bitrate looks fine on most screens. 480p (854×480) is acceptable for short, action-heavy clips where clarity matters less.

    Resolution affects file size significantly:

    Resolution Approximate bitrate for acceptable quality Notes
    1080p 4,000+ kbps Too large for 8 MB clips over 15 seconds
    720p 1,500-2,500 kbps Good for clips up to 40 seconds at 8 MB
    480p 800-1,500 kbps Acceptable for clips up to 80 seconds at 8 MB

    Strip the audio (if not needed)

    If the clip has no relevant audio (a silent gameplay moment, a reaction GIF), removing the audio track saves 128-192 kbps of the total bitrate budget. In HandBrake, set audio to “None.” In FFmpeg: add -an to the command.


    Discord-Specific Format Recommendations

    Discord plays video inline (in the chat window) on desktop and mobile. The safest format choices:

    • Container: MP4 (.mp4)
    • Video codec: H.264 (not H.265/HEVC — some older Discord versions and mobile clients handle H.264 more reliably)
    • Audio codec: AAC at 128 kbps
    • Frame rate: Match source or cap at 30fps. 60fps is playable but uses more bitrate.
    • Resolution: 720p is the sweet spot. 1080p at 8 MB over 15 seconds looks worse than 720p because the bitrate is too low for the resolution.

    WebM (VP9 codec) is also supported by Discord but less universally compatible across all clients and platforms where users might download and re-watch the clip. MP4 H.264 is the safe default.


    What to Do If You Cannot Get Under 8 MB

    Some source videos are too long or too high quality to fit in 8 MB without unacceptable degradation. Your options:

    1. Upgrade to Discord Nitro: 500 MB limit removes the compression constraint entirely. At $9.99/month it is a genuine option if you share videos frequently. [Source: discord.com/nitro]
    2. Upload to YouTube as unlisted and share the link: Discord embeds YouTube links directly in chat. No file size limit.
    3. Use Streamable or Imgur: Both host short video clips free and Discord embeds their links. Streamable free tier has limits on video duration and storage.
    4. Use a Discord bot file hosting service: Tools like file.kiwi host the file externally and post a Discord-embeddable link. Convenient but adds a dependency on a third-party service.
    5. Cut the clip shorter: The most reliable fix. A 20-second clip will always compress better than a 90-second clip.

    Tool Comparison: Which Method Fits Your Situation

    Situation Best tool Why
    One-off quick clip, no install Clideo or Kapwing (online) Fast, no software required
    Need exact 8 MB target, occasional use HandBrake (free) Precise bitrate control, no cost
    Regular Discord video sharing, batch clips Wondershare UniConverter Target-size input, batch mode, no bitrate math
    Command-line comfortable FFmpeg Most precise, free, no watermark
    Very long clip that cannot compress to 8 MB YouTube unlisted link No file size constraint

    For most readers who compress Discord videos more than a few times per month, Wondershare UniConverter is the most practical choice. It removes the bitrate calculation step and handles batch compression cleanly.

    Alternatives worth considering:

    • Any Video Converter (any-video-converter.com): Free desktop tool with compression features. Less polished than UniConverter but functional for basic Discord compression.
    • Movavi Video Converter (movavi.com): Paid tool with a good interface. File size targeting is available. Comparable to UniConverter on core compression quality.

    Frequently Asked Questions

    What is Discord’s video size limit for free accounts in 2026?

    Discord’s free tier allows file uploads up to 10 MB as of 2026. The limit was reduced from 25 MB in 2024. Targeting 8 MB gives you a buffer against encoding variance.

    Why does my video still fail to upload even after compressing to 8 MB?

    Discord checks the final file size at upload. If your compressor reported 8.0 MB but the actual output is 8.1 MB or above 10 MB, the upload fails. Re-compress targeting 7.5 MB to be safe, or check the file size in your file explorer before uploading.

    Does Discord support H.265 (HEVC) video?

    Discord plays H.265 on some clients but H.264 is more reliably compatible across desktop, mobile, and the web app. Use H.264 unless you have a specific reason to use H.265.

    Can I send videos larger than 8 MB on Discord without Nitro?

    Yes. Upload the video to YouTube as unlisted, Streamable, or Imgur and paste the link into Discord. Discord embeds these links and plays them inline. No file size limit applies to linked content.

    Does Wondershare UniConverter add a watermark to compressed videos?

    The free trial version adds a watermark. The paid version does not. HandBrake and FFmpeg are free options with no watermark at any tier.

    What is the maximum video length for an 8 MB Discord upload?

    It depends on resolution and quality settings. At 720p H.264 with 128 kbps audio, an 8 MB limit allows roughly 40-50 seconds of video at acceptable quality. At 480p the limit extends to around 70-90 seconds. Very short clips (under 15 seconds) can stay at 720p or 1080p with good results.


    Summary: The Fastest Path to Under 8 MB

    1. Trim your clip to the minimum length needed.
    2. Target 720p resolution, not 1080p.
    3. Calculate your bitrate: (8000 x 8 / duration in seconds) – 128 kbps for audio.
    4. Use HandBrake (free) or Wondershare UniConverter (paid, recommended for regular use) to encode at that bitrate in H.264 MP4.
    5. Check the output file size before uploading.

    For one-off clips: any free online tool works. For regular Discord video sharing with minimal friction: Wondershare UniConverter gives consistent results without manual bitrate calculation.

    Internal reading:
    – How to compress video for Discord free
    – How to reduce video file size without losing quality (2026)


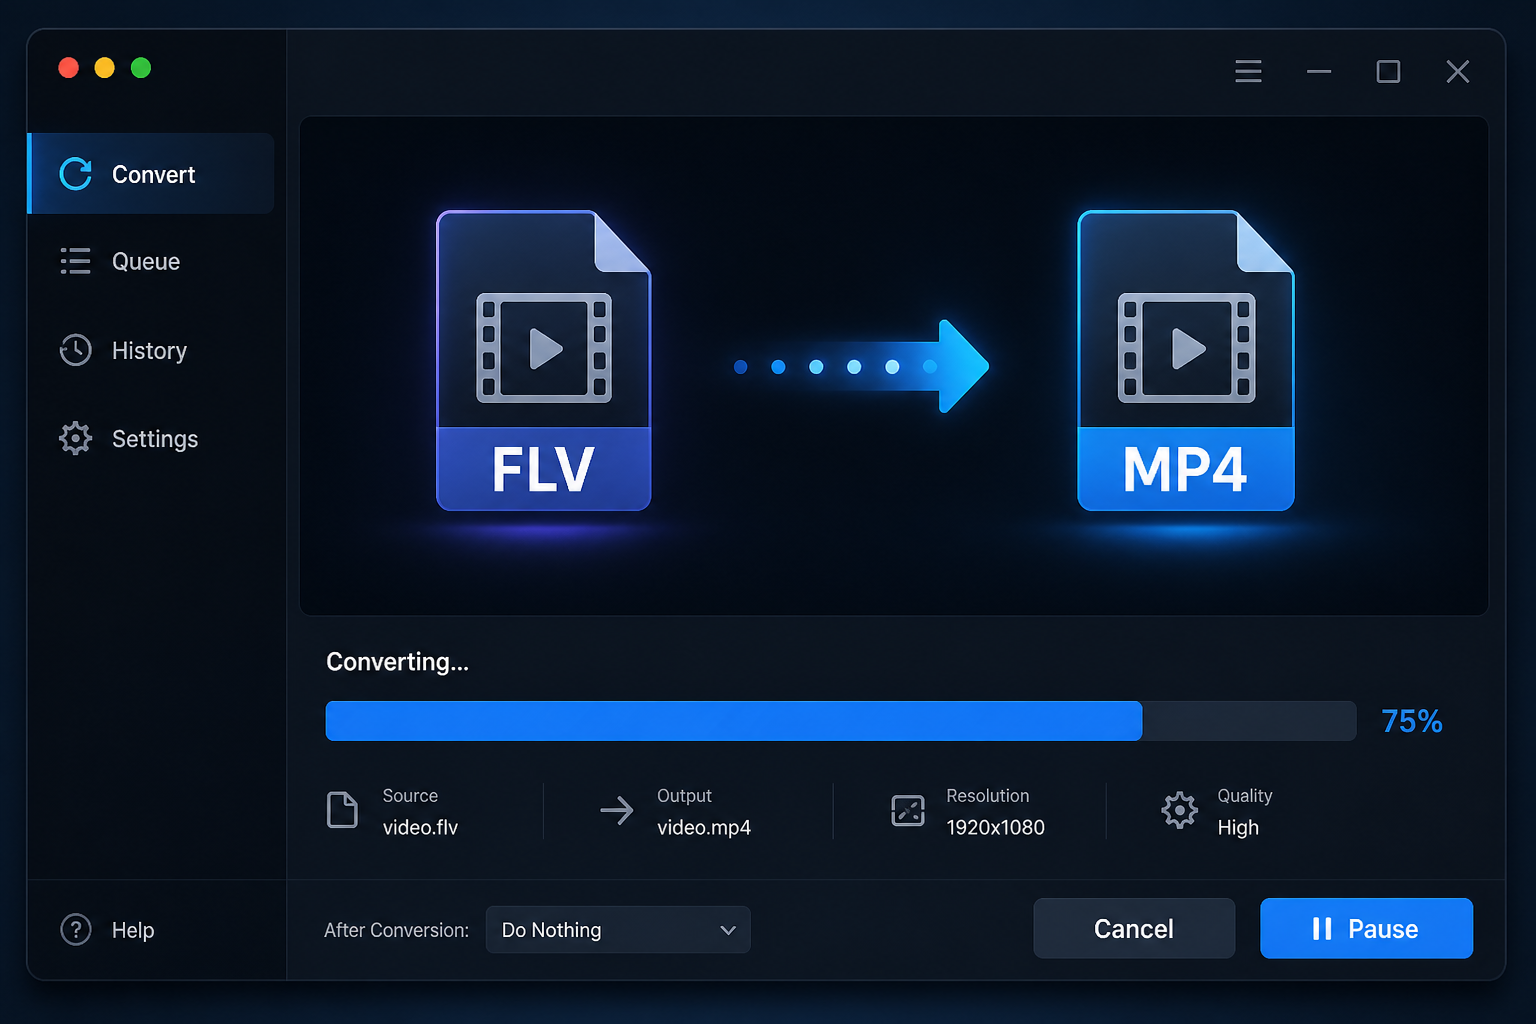
  • Convert FLV to MP4 Free Online 2026: 3 Tools That Actually Work

    Convert FLV to MP4 Free Online 2026: 3 Tools That Actually Work


    title: “Convert FLV to MP4 Free Online 2026: 3 Tools That Actually Work”
    slug: “convert-flv-to-mp4-free-online-2026”
    domain: “onlinevideoconvert.net”
    primary_keyword: “convert FLV to MP4 free online 2026”
    date: 2026-08-08
    word_count: 2680
    status: draft
    schema:
    – Article
    – FAQPage
    – Author


    Affiliate disclosure: This article contains affiliate links. If you purchase through them, we may earn a commission at no extra cost to you. Recommendations are based on format support, output quality, and real-world usability, not commission rate.

    Convert FLV to MP4 Free Online 2026: 3 Tools That Actually Work

    The fastest way to convert FLV to MP4 free online in 2026 is to use a browser-based converter like Convertio or CloudConvert for quick one-off files, or Movavi Video Converter if you need reliable batch output with controlled quality settings. This guide covers exactly when to use each option and the specific settings that matter for clean output.

    FLV files are not going away as fast as Adobe intended. Archived footage from video-sharing platforms, legacy corporate training content, and old screen recordings continue to surface in 2026. None of the major browsers play FLV natively, and Adobe officially killed Flash Player in December 2020. The practical result: you have a file that nothing opens, and you need it in MP4.


    Why FLV Files Stop Working (and Why MP4 Fixes It)

    FLV (Flash Video) uses the Sorenson Spark or VP6 codec for video and MP3 or ADPCM for audio. These codecs were standard in the mid-2000s when YouTube and Hulu served video through the Flash Player plugin. Once browsers dropped Flash support, FLV became a container with no native playback path. According to Cloudinary’s format analysis, there is no scenario where FLV makes sense for new content in 2026. The format persists only as legacy.

    MP4 uses the MPEG-4 container with H.264 (or H.265) video and AAC audio. H.264 is the universally compatible codec: every browser, phone, smart TV, and editing app reads it without plugins. Converting FLV to MP4 is not lossy in a damaging sense because you are re-encoding from an already-compressed source. The quality loss is minimal when you keep the bitrate at or above the source file’s original.

    Two things to watch during any FLV to MP4 conversion:

    • Video bitrate: If the source FLV was encoded at 1500 kbps, do not output at 800 kbps. Match or exceed the source.
    • Audio sync: FLV files sometimes carry audio at non-standard sample rates (22050 Hz). Some converters resample to 44100 Hz cleanly; others introduce drift. Test with a 30-second clip before committing a large batch.

    The 3 Tools That Actually Work in 2026

    Tool 1: Convertio (Best Free Online Option for Small Files)

    Convertio converts FLV to MP4 entirely in the browser with no software installation and no account for files under 100 MB. It supports FLV input natively and outputs H.264 MP4 with AAC audio by default. The settings panel lets you adjust resolution, bitrate, and frame rate before converting.

    How to use Convertio for FLV to MP4:

    1. Go to convertio.co/flv-mp4.
    2. Click “Choose Files” or drag your FLV file into the upload area.
    3. Confirm the output format is set to MP4 (it auto-selects).
    4. Click the wrench icon to access quality settings. Set video bitrate to match your source if you know it.
    5. Click “Convert” and download the finished file.

    Limitations you need to know:

    • Free plan caps at 100 MB per file. A 10-minute FLV at decent quality can exceed this.
    • Conversion queues slow down during peak hours. A 200 MB file can take 8 to 12 minutes.
    • Files are deleted from Convertio servers after 24 hours. Download promptly.
    • No batch processing on the free tier.

    Convertio is the right pick for single files under 100 MB where you do not want to install anything. For anything larger or for batch conversion, the options below handle it better.


    Tool 2: CloudConvert (Best Free Online Option for Larger Files)

    CloudConvert supports FLV files up to 1 GB on its free tier (25 conversions per day, no account required for basic use). The quality controls are more detailed than Convertio’s: you can set codec, bitrate, resolution, frame rate, audio codec, and audio bitrate separately.

    How to use CloudConvert for FLV to MP4:

    1. Go to cloudconvert.com/flv-to-mp4.
    2. Click “Select File” and upload your FLV.
    3. Choose MP4 as the output format if not pre-selected.
    4. Click the wrench icon next to your file name to access video settings.
    5. Set video codec to H.264 and audio codec to AAC. Leave resolution and frame rate on “same as source” unless you need to resize.
    6. Click “Convert” then “Download.”

    CloudConvert quality notes:

    The H.264 encoding in CloudConvert uses a constant rate factor (CRF) approach by default. CRF 23 is the default and produces good quality for most FLV sources. If you are converting high-motion content (sports, gaming footage), consider dropping to CRF 18 for a larger file with better retained detail.

    Limitations:

    • 25 free conversions per day. If you are converting a large archive in one session, this limit cuts off quickly.
    • Processing is server-side. Uploading a large file on a slow connection takes time.
    • No permanent storage: files are deleted from their servers after conversion.

    CloudConvert is the stronger online option for files between 100 MB and 1 GB, or when you need fine-grained codec control without installing software.


    Tool 3: Movavi Video Converter (Best Pick for Quality and Batch Conversion)

    Movavi Video Converter handles FLV to MP4 with hardware acceleration and preset output profiles. It is a desktop application for Windows and Mac, not an online tool, which is the relevant distinction: your files never leave your machine, there are no size limits, and you can queue 50 files at once.

    This is the recommended pick for anyone converting more than a few FLV files, archiving a collection, or needing to maintain consistent output quality across a batch.

    Why Movavi earns the top recommendation here:

    • Supports over 180 input formats including FLV, AVI, WMV, and MOV, plus all FLV sub-variants (Sorenson, VP6, H.264 inside FLV)
    • Hardware acceleration via NVIDIA, AMD, and Intel GPUs cuts conversion time significantly on compatible machines
    • Output presets for specific devices (iPhone, Samsung Galaxy, YouTube 1080p) remove the guesswork on settings
    • One-time purchase pricing (no subscription), with a 7-day free trial; trial conversions are saved without a watermark, and you keep converted files after the trial ends
    • Reviews on G2 and Capterra in 2026 consistently cite reliable audio sync and clean FLV output as strengths

    How to convert FLV to MP4 in Movavi:

    1. Download and install Movavi Video Converter from movavi.com.
    2. Open the application and click “Add Media” then “Add Video.”
    3. Select your FLV file or drag a folder of FLV files for batch processing.
    4. In the output format panel at the bottom, select “MP4” under the Video tab. Choose the “H.264” codec option.
    5. Select an output preset. “HD 1080p” or “Same as source” are the two most reliable choices for archival conversion.
    6. Set the output folder. Click “Convert.”

    For batch conversions, steps 3 through 6 apply identically. Movavi processes files in sequence using the same preset you selected.

    Limitations:

    • It is not a browser tool. You need to download and install it (about 80 MB installer).
    • The free trial converts files without watermark during the trial period; a watermark applies to conversions made with the free version after trial expiry.
    • Windows and Mac only. No Linux build.

    Get Movavi Video Converter to convert FLV files without upload limits, with full batch support and hardware-accelerated processing.


    Quick Comparison: Which Tool to Use

    Scenario Recommended Tool
    1 FLV file under 100 MB, no install Convertio
    1 FLV file 100 MB to 1 GB, no install CloudConvert
    Batch of FLV files, quality control needed Movavi Video Converter
    Privacy-sensitive files (cannot upload) Movavi Video Converter
    FLV over 1 GB Movavi Video Converter
    Linux environment Any.Video.Converter (see below)

    Alternative Options Worth Knowing

    Any.Video.Converter (Free Desktop Alternative)

    Any.Video.Converter is a free desktop converter for Windows that handles FLV to MP4 without file size limits. The interface is dated compared to Movavi, and the free version lacks hardware acceleration, but it is a solid no-cost option for batch conversion when the budget is a hard constraint. The free build converts without watermarks.

    Output quality from Any.Video.Converter is serviceable, but the codec settings are less transparent than Movavi. You select a profile rather than setting bitrate manually. For archival work where you need precise control, Movavi is the stronger choice.

    Wondershare UniConverter supports FLV input and outputs to MP4 with good quality defaults. It also includes video editing tools (trim, crop, merge), which makes it a practical pick if you need to edit the footage after conversion. The pricing model is subscription-based rather than one-time purchase, which is the main trade-off versus Movavi.

    For users who want a single application covering conversion, editing, and compression, UniConverter covers all three. For users who only need to convert, the subscription cost is harder to justify.


    Step-by-Step: Free Online FLV to MP4 Conversion (Detailed)

    For users who want the browser-based path with no installation, here is the complete process using Convertio.

    What you need before starting:

    • The FLV file on your local machine
    • A browser (Chrome, Firefox, Edge, Safari all work)
    • Stable internet connection (large files stall mid-upload on spotty connections)

    Step 1: Identify your file size

    Right-click the FLV file and select Properties (Windows) or Get Info (Mac). Note the file size. If it is under 100 MB, Convertio handles it free. If it is over 100 MB, use CloudConvert instead.

    Step 2: Open the converter

    Go to convertio.co/flv-mp4 in your browser. No account is required for the free tier.

    Step 3: Upload the file

    Click “Choose Files.” Select the FLV file from your file manager. The upload progress bar appears immediately. For a 50 MB file on a standard broadband connection, upload typically completes in under 30 seconds.

    Step 4: Verify format selection

    The output format should already show “MP4.” If not, click the format dropdown to the right of your file name and select MP4 from the Video category.

    Step 5: Adjust quality settings (optional but recommended)

    Click the wrench/settings icon. The options panel shows:
    – Video codec: leave as H.264
    – Video bitrate: set to at least 2000 kbps for standard definition FLV, 4000 kbps or higher for HD content
    – Audio codec: leave as AAC
    – Audio bitrate: 128 kbps is adequate for most FLV audio; 192 kbps if the source was high quality

    If you are not sure of the original bitrate, leave settings on “same as source.”

    Step 6: Convert and download

    Click the orange “Convert” button. A progress indicator shows the conversion status. When complete, the “Download” button appears. Click it. The MP4 file saves to your default Downloads folder.

    Step 7: Verify the output

    Open the converted MP4 in VLC or your system media player. Check:
    – Does video play without artifacts for the first 30 seconds?
    – Is audio in sync with the video at the 1-minute mark?
    – Does the resolution match what you expected?

    If audio is out of sync by more than half a second, re-convert and check the audio settings. This is most common with FLV files that used non-standard audio sample rates.


    FLV to MP4 Without Uploading to a Server

    If your FLV files contain private content, confidential meetings, or footage you prefer not to send to a third-party server, the right approach is a local desktop converter.

    Both Movavi Video Converter and Any.Video.Converter process files entirely on your local machine. No data is transmitted to external servers during conversion. This matters for:

    • Corporate training videos
    • Personal recordings
    • Content under NDA
    • Medical or legal video files

    For any file where privacy is a concern, skip the browser-based options and use a desktop tool.


    Common FLV to MP4 Conversion Errors and Fixes

    Error: “File format not supported”

    Some FLV files use VP6 codec internally, which older converters reject. Use Movavi or CloudConvert; both handle VP6 input correctly.

    Error: Audio plays, video is black

    This typically happens when the FLV contains H.264 video inside the FLV container. The converter is stripping the container but not re-encoding. In Movavi, force re-encode by selecting a specific output preset rather than “copy.” In CloudConvert, set the video codec explicitly to H.264 instead of leaving it on “auto.”

    Error: File is cut short or ends abruptly

    Indicates a corrupted FLV. Try playing the original in VLC first. If VLC also cuts short, the source file is damaged. VLC can sometimes repair and re-save FLV files via Media > Convert/Save. Use VLC’s output to produce a repaired version, then convert that file to MP4.

    Error: Converter fails mid-upload

    File is likely over the service’s size limit. Switch to CloudConvert for files up to 1 GB, or use a desktop tool for anything larger.


    Internal Resources

    If you need to reduce the size of your converted MP4 after conversion, see our guide on how to reduce video file size online free.

    For larger collections that benefit from desktop software across multiple formats, best free video converter software for Windows 2026 covers the full desktop options category.

    If you are preparing video for Discord and need both format conversion and file size compression, compress video for Discord free walks through both steps in sequence.


    Verdict: Best FLV to MP4 Converter in 2026

    For one-off conversions under 100 MB: Convertio handles it free in the browser with no account.

    For larger files online: CloudConvert gives better size limits and more detailed codec settings.

    For consistent output quality, batch processing, or privacy-sensitive files: Movavi Video Converter is the pick. Hardware acceleration, 180+ format support, one-time pricing, and clean FLV handling on both Sorenson and VP6 sources make it the most reliable option across the range of FLV files users encounter in 2026.

    Download Movavi Video Converter and convert your FLV archive without upload limits or quality compromises.


    Frequently Asked Questions

    Can I convert FLV to MP4 without losing quality?

    Converting FLV to MP4 always involves re-encoding, which means some generational quality loss. The impact is minimal if you set the output bitrate equal to or higher than the source. For a 1500 kbps FLV, output at 1500 kbps or above. Using H.264 at that bitrate will produce a result visually indistinguishable from the original for most content.

    Why won’t my FLV file play on Windows or Mac?

    Modern operating systems removed native Flash playback support after Adobe ended Flash Player in December 2020. FLV files require either a third-party player like VLC or conversion to a supported format like MP4. The format is not broken, but the playback infrastructure no longer ships by default.

    Is it safe to upload FLV files to online converters?

    Reputable converters like Convertio and CloudConvert delete uploaded files from their servers after conversion (typically within 24 hours). For files containing sensitive content, use a desktop converter like Movavi or Any.Video.Converter that processes files locally without any upload.

    How long does FLV to MP4 conversion take online?

    For a 50 MB FLV on Convertio or CloudConvert, conversion typically takes 1 to 3 minutes depending on server load. A 500 MB file on CloudConvert takes 8 to 15 minutes. Desktop tools with hardware acceleration (Movavi) convert faster because they use your GPU directly.

    What is the best output resolution when converting FLV to MP4?

    Match the source resolution. If the FLV is 480p, output at 480p. Upscaling to 1080p does not add detail and increases file size without quality benefit. If you need to change resolution, downscaling to a smaller size (for web use) is fine; set the codec to H.264 and keep the bitrate proportional to the resolution.